

I am always looking for things to hang on the walls but sometimes a room already has too many frames or mirrors. The spot I was looking for needed something more organic with texture. When I saw the DIY Yarn Wall Art by Harlow & Thistle, I knew I had to give it a try. You can find the full tutorial here.
You will need:
- Metal hoops
- Yarn (in coordinating colors and textures)
- Butcher’s twine
- A good pair of fabric scissors to trim the bottoms
- THAT’S IT!
I actually found these gold hoops from the craft store first, but picking out yarn textures and colors took me forever! There are so many shades of grey, khaki and white, finding the three that go together was challenging. The khaki and cream are pretty standard but I love love love the silvery grey bulky yarn I found. I love the texture and that it has a slight sheen to it.

I cut my pieces of yarn in 4 foot strips, and two at a time, looped them over the ring with the knot portion facing forward.

After deciding how far you want to go along the bottom of the ring, start on the second loop with the next color. I did the same with the khaki: 4 foot strips, bunched in twos and then looped over the ring, knot facing forward.

For the smallest ring, I wanted to try macrame. I used a tutorial by Parlor. Her illustrations made the process way easier than I expected. Next time, I would like to try it with string meant for macrame as the yarn was quite stretchy and the fibers did not give the knots the definition it needed.

I used cotton butcher’s twine to wrap all of the rings together and create a hanging loop as the yarn would not hold up all of that weight. To finish, trim the ends into whatever shape you choose! I also knotted the bottoms of the grey yarn as they were starting to unravel.


I love this because it was really easy and something different to add to your wall space! Every part can be customized to fit the look and feel of your home.


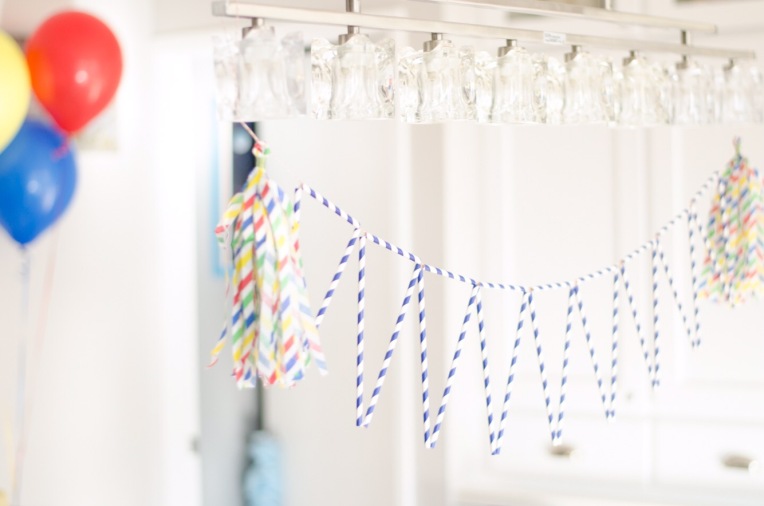
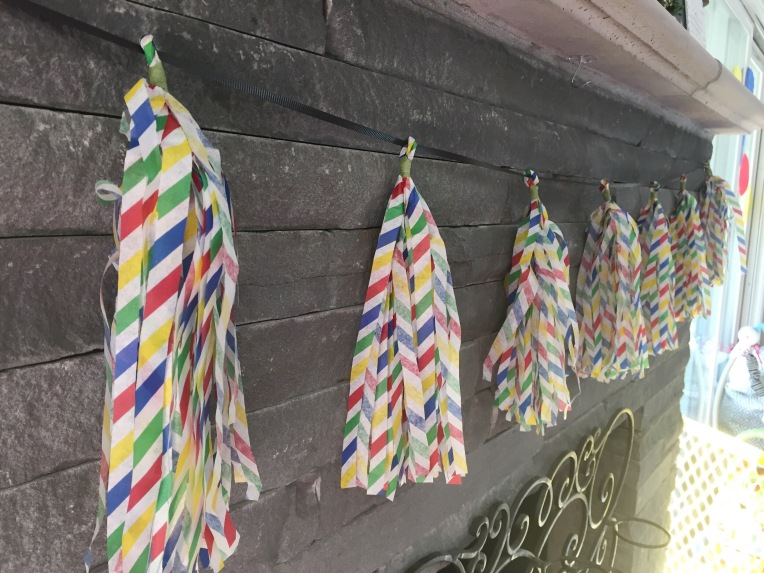 I love the look and idea of the paper straw, but I don’t like using them as a straw. Strange, I know, but I hate the feeling of the paper getting soft in the drink. I found a great tutorial from
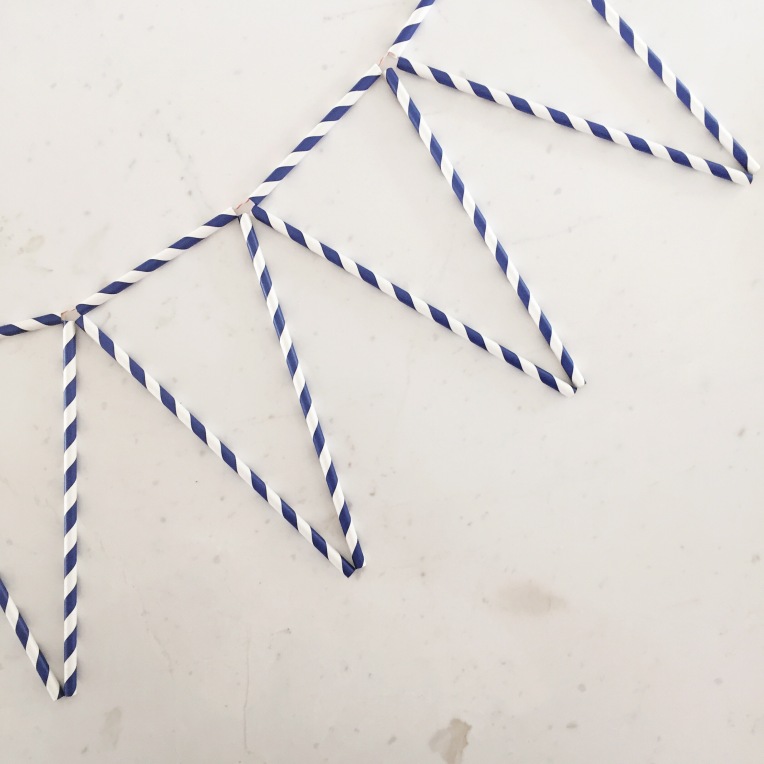
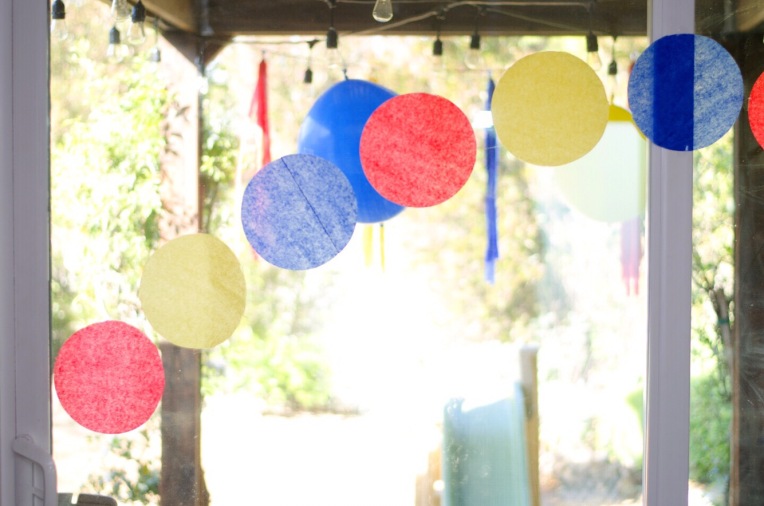
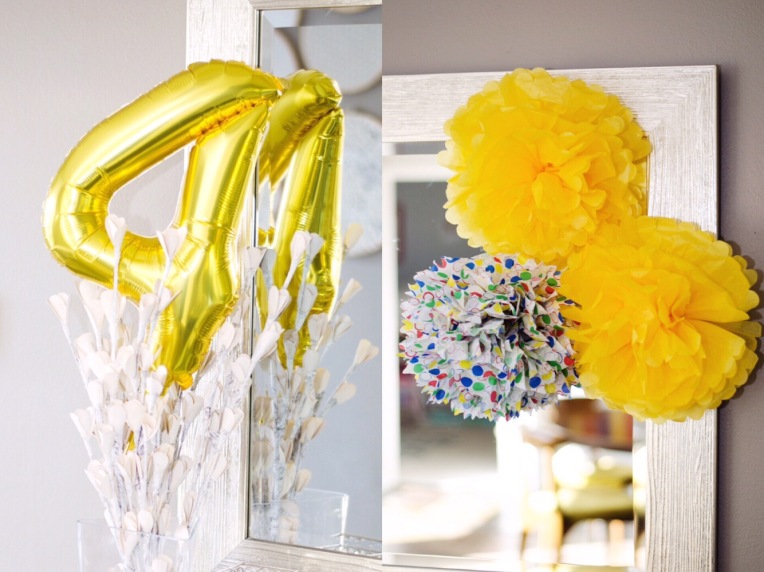
 My greatest discovery this time around: CREPE PAPER garland! I might never make another tissue paper garland again! Tutorial to come…
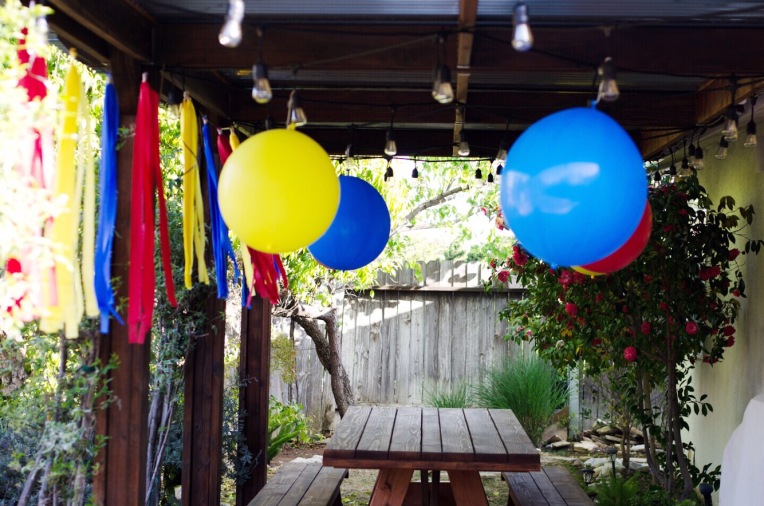
 Love love love helium balloons, but they can be expensive if renting a tank and a bit of a pain if your order and have to pick up the day of the party. ***TIP*** Order them for the day before with hi-float and they will last 3-4 days if not longer! Also, if you feel the space is a bit cluttered already for balloons, try putting them in the corners of the room. (A tip from the hubs, believe it or not!)
 Great discovery #2! PUNCH BALL BALLOONS! Most, if not all of my party decor was from the dollar store including these punch ball balloons. Blow them up and hang them from the ceiling! Since they are shaped a bit differently from regular balloons, you can even hang streamers or ribbon from the bottoms as well!
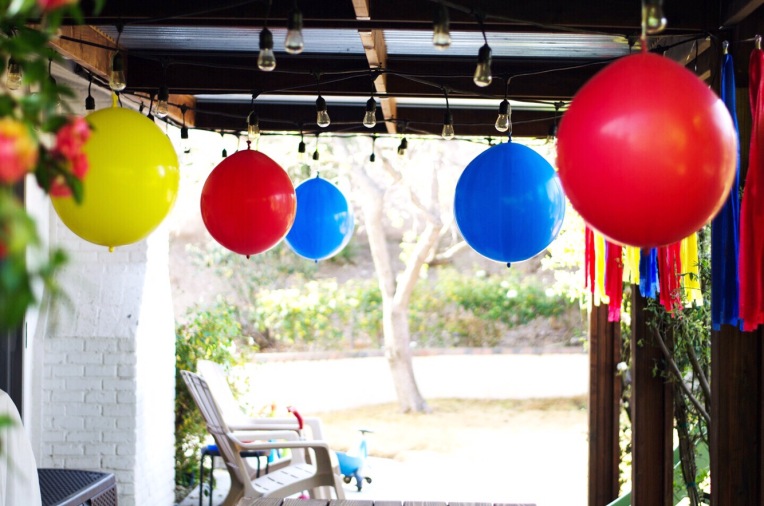

 The highlight of the party was definitely the cakes. I am not an experienced baker, but
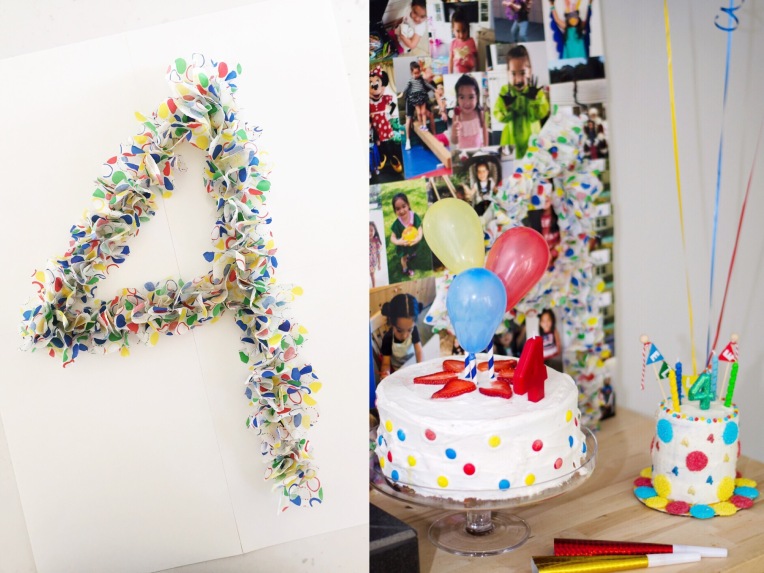
 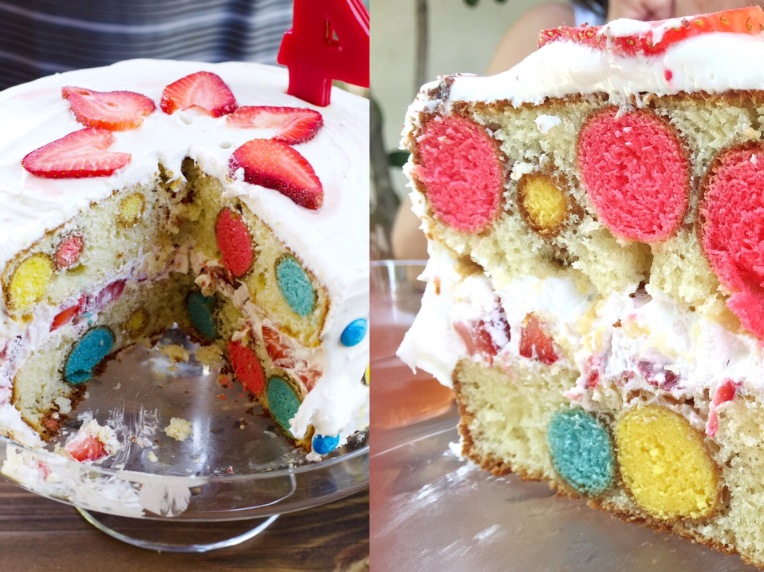 My sister made this four-tiered adorable chocolate mini cake just for Ellie, complete with her own banner and homemade white chocolate nonpareils.
 Since we decided to have a small party this year, I knew there would not be many kids her age present as Ellie is the oldest cousin. I wanted something fun and interactive for her, so we made these “Press Here” inspired cards for her to play.
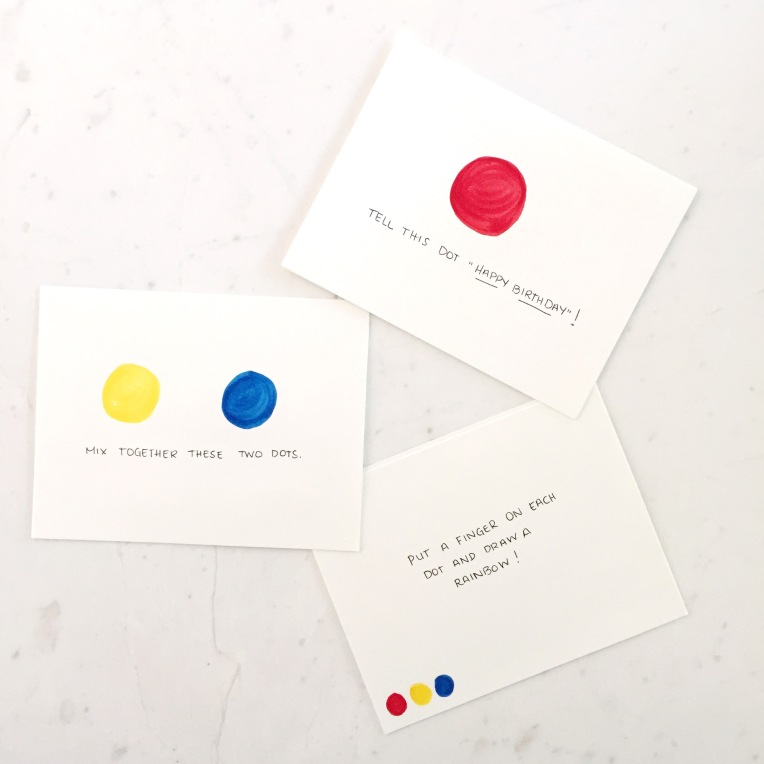 Our whole family was great sports in each picking out a card and wearing it so Ellie could go up to them and play her game. (Left says “Smell this dot.” Right says “Poke Me!”.)
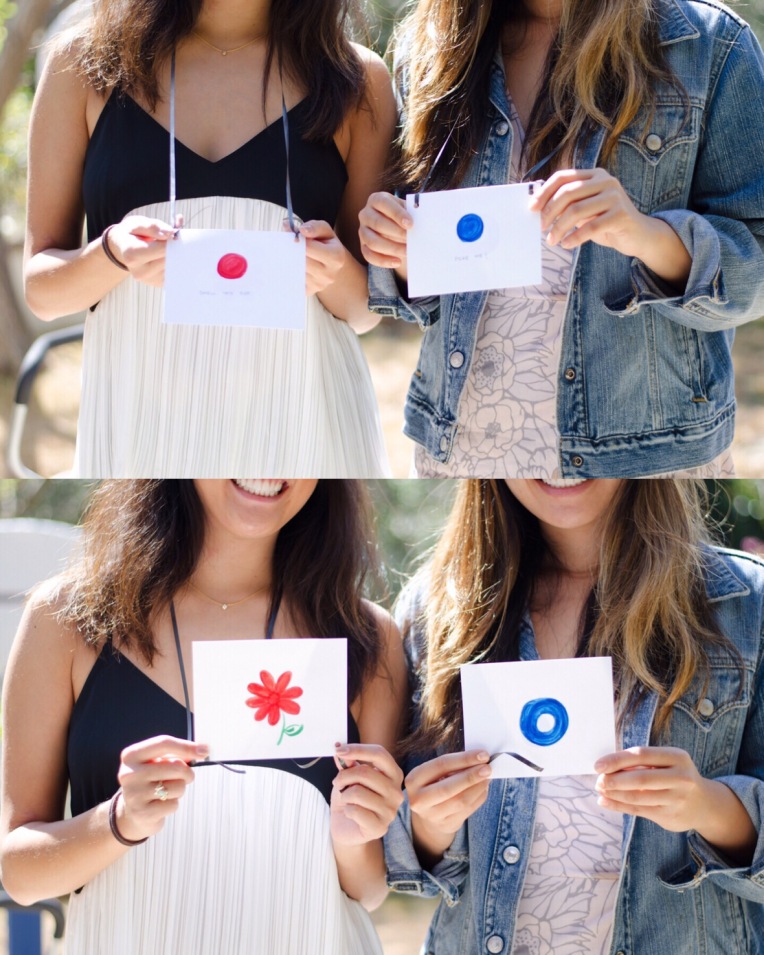


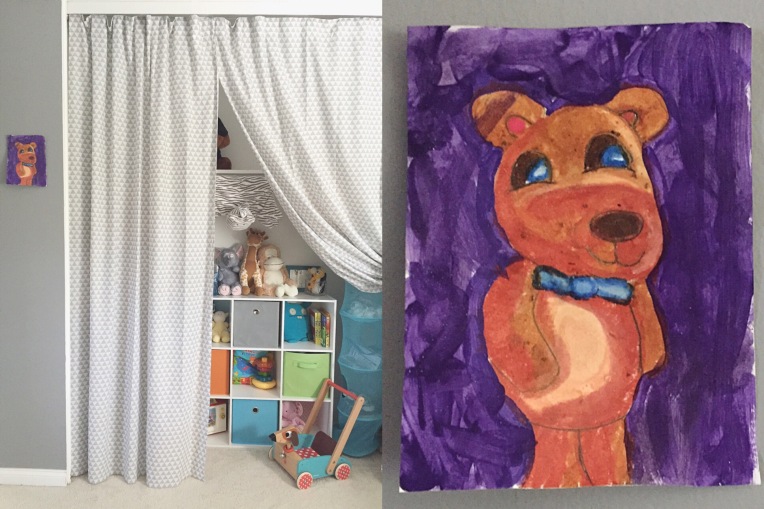
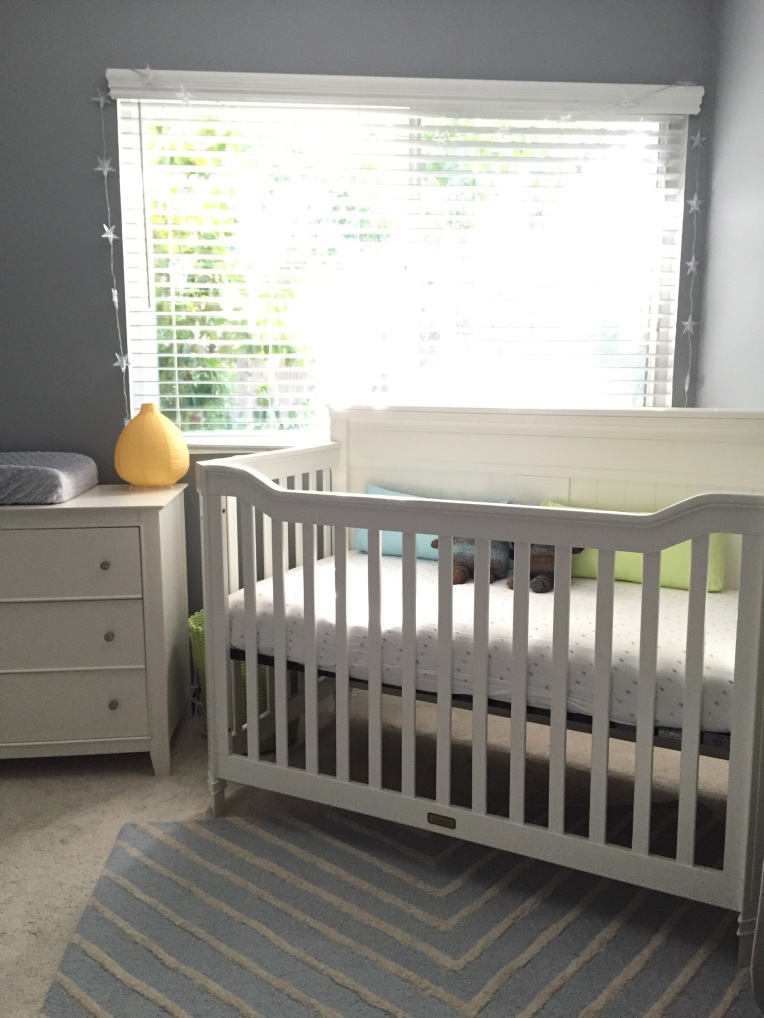 It was very hard to come up with a theme for the room. I knew the color palette I was looking for (orange, lime green, blues, grey). The question was how to make this room their own while still reusing a lot of my daughter’s baby things and for us, the answer was in the artwork.


